Most people go to the beach on bright, warm, sunny days. These conditions give off a lot of reflected light, explaining why people end up with poor photos. To combat that, I’ve accumulated some beach scene photography tips for beginners. With these tips, you’ll avoid the most common pitfalls of taking photos at the beach.
You can fix a lot of issues by changing your camera settings and photography gear. A little creative editing also goes a long way.
Let’s start with the camera settings:

Shutter speed
Using an appropriate shutter speed will make or break your photographs at the beach. If you’re there at dawn or dusk and want to create a whispy water effect, you’ll want a slower shutter speed. That’ll most likely be greater than 1s. To take action shots, or snap during the bright daytime, the faster shutter speed will be ideal.
Use a low ISO
Your shutter speed and aperture only contribute to how exposed your photographs are. You can also utilise a low ISO to help limit the exposure of your images. You might find 100 or 200 to be a great choice when it’s bright outside. As it gets darker a higher ISO might better suit your needs.
Aperture
One of my favourite beach scene photography tips for beginners is to use the correct aperture. Learn how to choose a suitable aperture for the photograph you’re trying to take. An up-close photo, a portrait, or macro picture will need a smaller number, such as f/4.
A beach landscape will need a higher number, somewhere between f/12 and f/16, or higher depending on the location. You can also use a middle ground such as f/8 or f/9 to take mid-range photographs. In these, you may need more focus than you would for a portrait, but not the entire frame to be in focus.
Silhouettes
You can take some exceptional silhouette photographs on the beach. It’s often easier to line up your subject against the sun or moon when the horizon is clear.
Other subjects in your photographs can detract from the main focus, which won’t be an issue here.
Stabilise your tripod
It’s often windy at the beach, and there’s a good chance your tripod is resting on a soft surface such as sand. You need the tripod to counteract the wind, but if it’s sinking into the sand you’ll still end up with a blurred image.
If you can, try to ensure your tripod is on a solid surface. If that isn’t possible, you could rest it on something with a greater surface area to prevent it from sinking. Even simple items, such as a book or a piece of cardboard, could provide enough surface area to keep your tripod stable.
Remote shutter
Another way to help prevent the tripod sinking is to use a remote shutter. Using a remote shutter means you won’t be touching your camera, preventing any shaking from you pressing the shutter. You can also use this beach photography tip to take clearer photos at night, or any time you might need to use slow shutter speeds.
Shoot your pics in RAW
It’s not always obvious when your photographs are over or under-exposed, particularly if you’ve only got an LED display to check them. By shooting in RAW you allow yourself to edit your photos later, without having a detrimental effect on the quality of the image.
This way you can fix any blemishes, or ensure the lighting isn’t skewed too far one way or the other. It also means that you have the highest resolution if you want to print and frame your pictures.
Don’t forget to turn your flash on
Assuming you’re at the beach when it’s bright out, you’ll either need to have your subjects face the sun, or they’ll need to wear sunglasses. These are going to make your picture a little off.
Your alternative is to keep the sun off your subject’s face, but that means it’ll have shadowed. Flash to the rescue! By using your flash, even though it’s bright outside, you’ll illuminate your subject’s face for a much better photograph.
Always keep your equipment clean
One beach scene photography tip for beginners that isn’t always obvious is that you need to ensure you keep your equipment clean. You’ll likely want at least a cloth to keep your lens clean and saltwater free.
We all know too well how sand manages to get everywhere it shouldn’t be too. If you have multiple lenses but only one camera, try to make sure they’re well covered when you make the switch. This way, any sand that would otherwise be blown into your kit won’t be able to damage your equipment’s lenses and mirrors.
Visit in the Off-Season
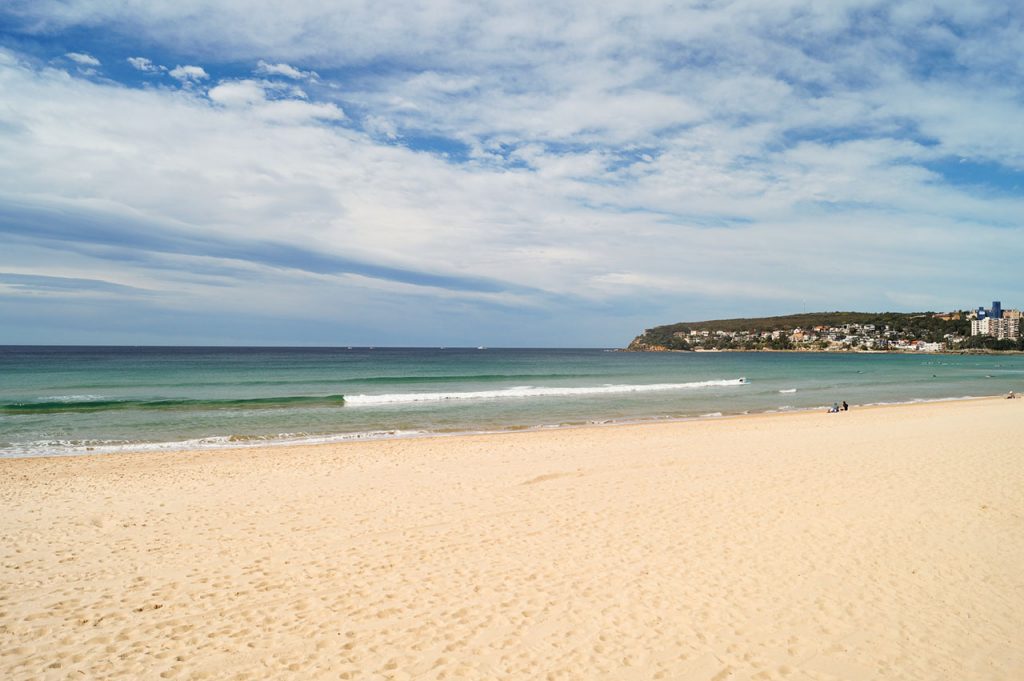
Summer brings large crowds to the beaches, so during peak season, you might find it difficult to take the photograph you want. Especially if that photo has a lack of other people in it.
If you visit in the off-season there’s a good chance you’ll have the whole beach to yourself. If not, there probably won’t be too many people around. Winter in particular, at least in the UK, brings cooler weather but also clear skies and sun. You won’t be able to tell much difference in the photos!
Equip your lens hood
A lens hood will help to reduce the impact of lens flares and make your pictures clearer when shooting towards the sun. This is especially helpful if you’re trying to create silhouettes. Production will also be easier if you don’t need to rectify a highly-contrasted image.
Use a neutral density filter
If you have an ND filter you can make use of it to give you greater control over how exposed your photographs are.
You can “slow” your shutter speed to create the whispy water effect in the ocean, or you could use a lower aperture like f/4 to focus on the subject you want without letting too much light into the lens and requiring a different shutter speed or ISO to offset it.
Visit during the golden hour
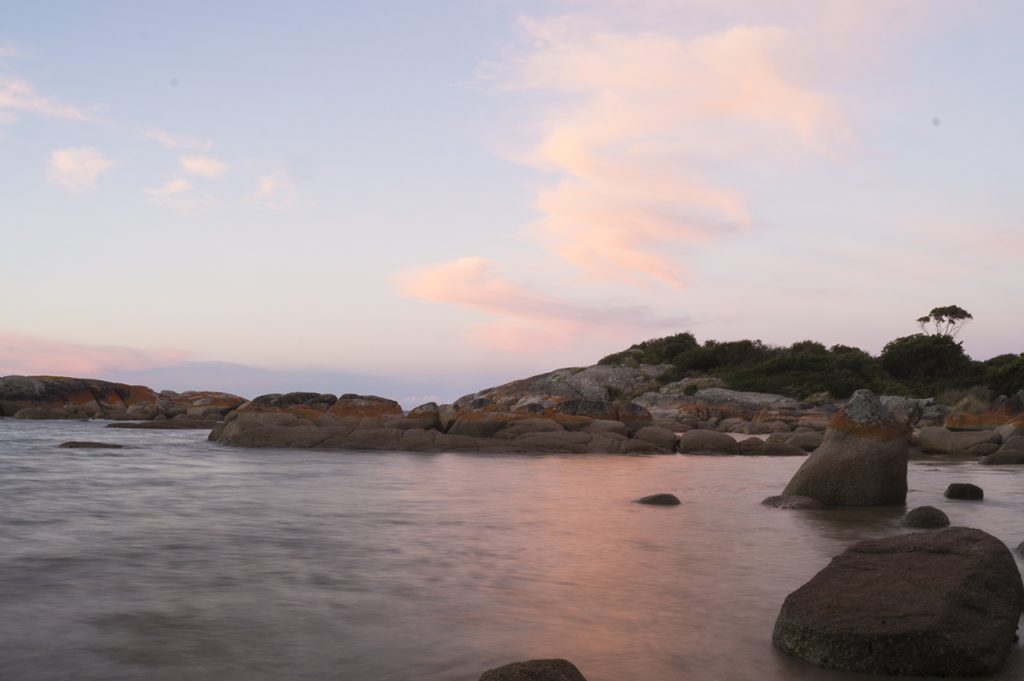
The hour just after sunrise and just before sunset is great for landscape photography in general. The sun will be low and the lighting is usually bright enough to take some great shots, without being too bright or harsh.
This is the ideal time to take photographs that need a slower shutter speed, such as those with soft waves, or light trails.
Try combining images
As you’ve probably guessed, you can combine a few beach scene photography tips for beginners into one. Get your exposure right! But, that isn’t always easy and there are a few ways to try to do that.
Outside of camera settings, you can take multiple images at different exposure levels, then combine the photographs later when you’re editing. Remember you’ll need exactly the same photo for this to work, so a tripod is a requirement to pull this off.
Change the white balance setting
I mentioned that if you visit the beach in the off-season, it’ll usually be quieter but could still be bright and sunny. However, it’s almost always going to be cooler, so to combat that you can change the white balance on your camera to something a little warmer.
Equally the converse is true, and you can create a cooler image in the summer by changing the same setting.
Be Candid
While it’s great to have some pictures without too many people in, sometimes you’ll want to have people in your pictures. When that’s the case, it’s usually better for the pictures to be more candid than posed.
Ideally, ask for permission to take someone’s photograph, but let them continue enjoying themselves to avoid a posed image.
Look for Reflections
Water generally means reflections. You can frame some brilliant photos using reflections too. The most obvious one is the relatively common sun reflecting on the surface of the ocean at sunrise and sunset, but there’s more than just that.
The tide can leave rock pools that don’t have waves disturbing the reflections. These pools can be great spots to add a little something extra to your photography.
Look Out for Wildlife
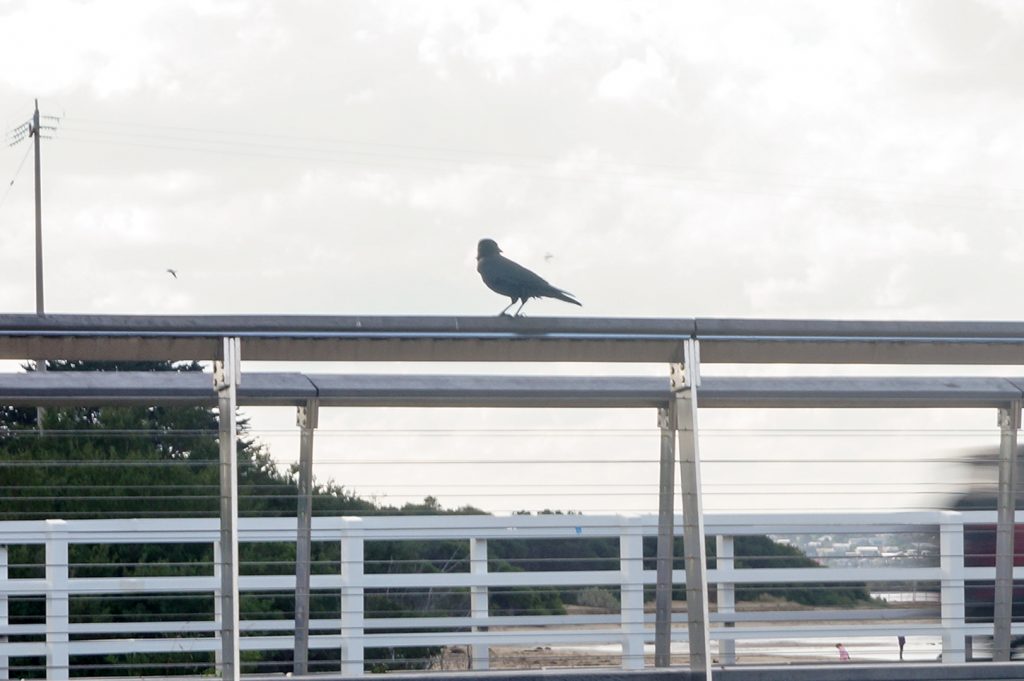
Sometimes you’ll find wildlife on or near the beach, and making it the subject of your photo can result in some amazing photography. It’s not only seagulls, depending on where you are, but there are also other birds and even smaller creatures such as crabs that you might come across.
Editing is more effective than you realise
You might find that you need to remove the odd blemish from your pictures, perhaps a grain of sand or a water droplet. You can fix this by editing your photographs at a later time. This is why it’s important to shoot in raw format.
Equally, if you find a skewed frame, maybe the horizon isn’t level, or you’ve included something in the edge of the frame that wasn’t intentional, you can crop these out afterwards. Try to not overdo the saturation setting!
When all else fails, use the Sunny 16 rule
This is a great rule to follow and is one of the core beach scene photography tips for beginners. Although the idea behind this rule is that it’s used on a bright, sunny day, which isn’t always the case.
The rule goes that at an aperture setting of f/16, your shutter speed should depend on your ISO setting.
At f/16 with an ISO of 100, your shutter speed would be 1/100, or if your ISO were set at 200, your shutter speed would be 1/200. This way your photographs will generally be well exposed. It isn’t perfect, but it’s a great place to start!