Anyone that travels often will know. Getting the picture you desire is not an easy task. Find out how to get around some of the common issues that travellers often face.

It doesn’t matter who you are, where you are, who you’re with or what you’re doing. The chances of something disrupting your excellent travel photography is always going to be over 100%. Granted, a large proportion of the time it will be a small Asian person that has no idea they’re right in the middle of your shot. Apart from waiting, or learning their native tongue, you are probably just going to have to wait for them to move (although you could take 2 snaps as they move and stitch them together, if you’re willing to put the work in).
So where do we start? The beginning usually helps!

1. Take a tripod.
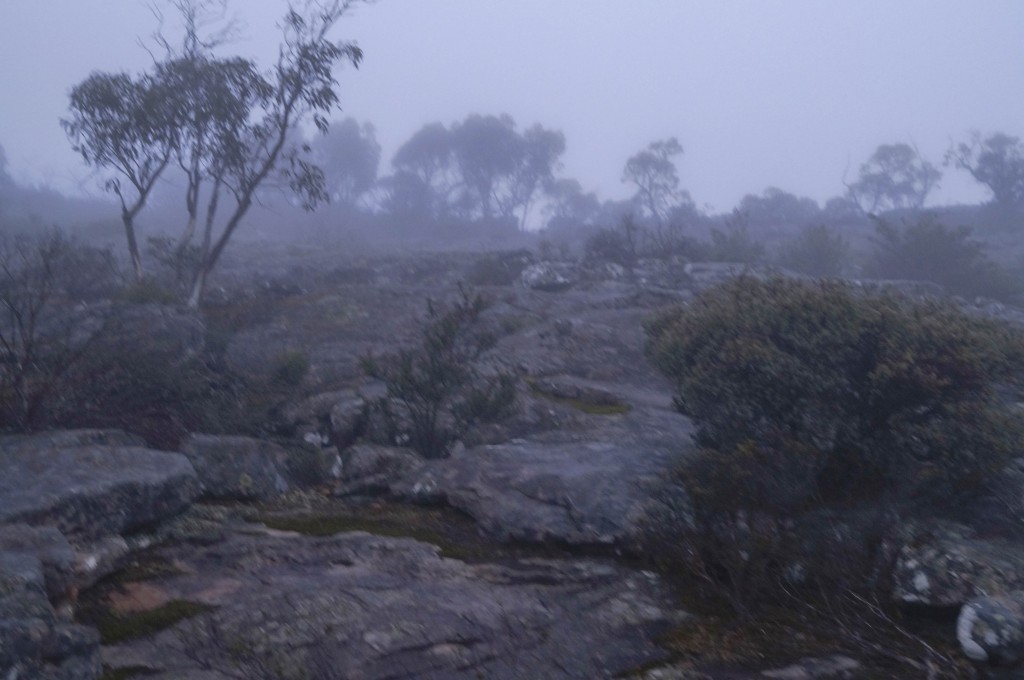
I didn’t do this, as you can see with this heavily edited photo (it is much worse) that I took while I was shivering to death on a freezing morning in the Grampians. I was brand new to the whole thing, had only just bought my camera and really didn’t have a clue what I was doing. That could have (and to an extent, kind of did) really screwed up my trip, photography wise. If you want to take night shots, it’s pretty much a requirement too.
So how do you get around this slight issue? Find a rock hard surface. Bigger than your camera. Solid enough that when you press buttons the camera doesn’t move.. and strike that button like a viper. Or you could just get a tripod. They pretty much all do the same thing. If you’re hiking though, I would probably advise to get a light-er one, and of course you have to consider things such as baggage allowance for flights.
Anyway this works. I tried it. If you need to be aiming at something at a funny angle (such as the sky) then it actually still works to put your camera on the floor and use a sturdy object such as a rock to help keep the lens steady. That way you can hit the button and run away while your 8 second exposure ticks through.
Just consider that it might take you a few attempts to get this right.
Also note that even if you’re using a tripod, you have to make sure it is steady and all legs are touching the ground. You should probably try to account for wind too. I’ve since found that depending where I am, standing in the direction the wind is blowing (unless that is where you’re aiming your camera) tends to help a little.
2. Keep multiple memory cards with you
Again, I made the mistake of only getting 1 memory card. 32gb should surely be enough! Right? Wrong. If you want to get the most from your photographs you’re going to want to save them in .raw format so that you can edit them and fool around with them afterwards, and .raw files are quite big. Mine tend to be, on average, just over 16mb each. I took a few thousand photos in 1 trip, so it’s pretty lucky that I had a decent sized SD card with me.
I got around this (being on the road for 3 weeks) by setting my camera to save as .jpeg, but then I lost image quality and editing became much more difficult and still is.
Photoshop and Camera Raw are your friends in this situation. So if you made the same mistake as me, or if you’re in the same situation and can’t get around it, take solace in the fact that all is not lost. I’ll be posting a guide to editing photographs in camera raw pretty soonish anyway, so just hold out!
Granted you probably aren’t going to get superior print quality with this method, so I really do recommend getting all of your images as .raw files, every pixel counts, especially if you’re looking to get high quality prints of your photographs at a later date.
3. Mix up your lenses
I only had the standard lens which came with my Sony A57, which is an 18-55mm and not particularly great. So with my pretty terrible zoom I was stuck trying to focus on some distant object. This sounds simple right? Except if you’re trying to get your camera to focus on something in the distance and you aren’t zoomed right onto it, you might have some issues getting the lens to focus (if you use autofocus, or are terrible at doing it manually, like me).
There’s a pretty simple fix to this one (at least with my Sony a-57) and all you have to do is to focus on another object, hold your snap button down (but don’t press it) point at what you want to shoot and then *click*.
That won’t always work, of course, so if you find that to be the case, try to focus on something at an equal distance, or close enough, do the same thing again but flick your lens to manual focus and you should, once again, be able to get the shot.
What you should really do is go out and invest in extra lenses. For the sake of travel photography, I like having a lens with a great zoom, a 70-300mm for example. This allows you to actually get decent shots of smaller things that you either can’t get close to (animals) or aren’t allowed to get close to (most of the world).
Grab a wide angle lens while you’re at it. I know lenses can be really expensive, and if you’re a complete amateur like me, it’s difficult to justify the spend. You don’t need to invest in anything too expensive, heck, you don’t need to invest at all, I’m just saying that I wish I’d had one with me.
More on lenses another time, yeah? Moving on…
4. Open the windows

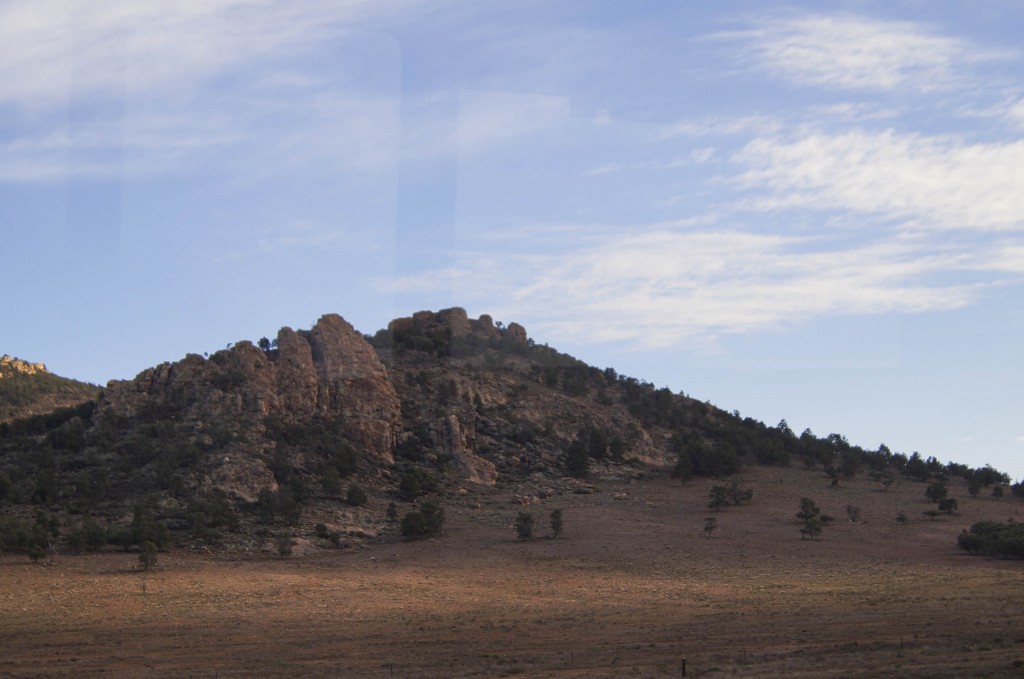
The number of people I see trying to take photographs through windows astounds me. There is this phenomenon called reflections that really screws up your pictures! Don’t do it (unless it really can’t be helped) because you will end up with something like my picture above. I’m really gutted because without the reflection I think it would be quite the snap.
“Travelling photography” can be difficult (different to travel photography due to the act of being in motion). If you’re in a vehicle, open the window. You lose the reflection. If you’re shooting something moving (such as the scenery as you’re being driven (seriously, don’t take photos while you’re driving)) then you’ll get a better picture looking back as it appears to move more slowly.
In a building? Same applies. Open the windows if you can! Pop up through the sunroof. On a boat? Go outside.
Use common sense though, don’t go sticking your camera out of the window held by 1 hand because there’s a good chance you will drop it, lose it, break it or whatever, and all those beautiful pictures you’ve taken will be lost. Be careful.
5. Take panoramic photos / 3d images
This sort of relates to what I said at the top of this post about stitching images together. It works, you get the shot you want without all of those annoying tourists (of course, we are never the annoying tourist, that’s how this all works) getting in the way.
What I would add though, is that if you’ve just taken the time to scale a mountain and you’re sitting happily at the summit. Grab yourself a panoramic image. There are quite a few websites now that will help you to render your panorama shots, and you’ll get a much better sense of the view when you’re not longer sitting atop the mountain. The same applies for 3d. The header image up top is one of my (less awesome) panoramic shots, partly because I want to save the true beauties for their own posts, but you get the idea.
It is difficult to comprehend the beauty of such places using a still, flat image. You’ve done the climb, you get to brag about it. Besides, with the growing prominence of 3d, when you’re 90 years old and no longer able to walk, you can tell your great great grandchildren about the time you were an explorer, and have proof so you don’t seem senile.
6. Edit your pictures
You’re probably a lot like me and want to take awe inspiring images, fresh from your camera and go and brag about them. Then you look on the internet and see other peoples shots from the exact same places and wonder how the hell theirs are so much better than yours.
Two words.
Photoshop and Lightroom.
Photoshop is an amazing tool for tweaking your pictures, cropping people out, stitching images together. You name it, photoshop can do it. Almost. The standard editing tool that pops up when you open a .raw file isn’t overly complicated. Move some sliders, see things change. When you’re happy, press open and do whatever you like with it. It’s great.
I have a ton of underexposed and overexposed photographs because, like I mentioned, I didn’t have a clue how to use my camera for quite a while. I don’t have the .raw files, so I’ve been using camera raw to edit them which isn’t really what I’d like. However, I CAN edit them.
This helps a lot of my pictures look much prettier, but wait, there’s more! Adobe Lightroom. I only recently found out how powerful this program is when I actually decided to load up a copy at work and start playing with it. Wow. Did not know I could do these things. I now completely understand why all of my pictures look so terrible, and everyone else has masterpieces.
You don’t need to be a genius to try it, but you really should at least give it a go. I reckon you’ll be amazed by what you can do to an otherwise bland image just by using some basic filters and settings. If you need help, ask.
Hopefully some of these few tips can help you out. They certainly saved me a lot of grief, and I’m aware that a bunch of these were due to my own inexperience and lack of research, but if I made the mistakes, surely someone else will too.
If you’ve got any photography tips to share, go ahead and drop a comment or email me at marc@macrodyl.com and I’ll work on getting them added on the site.